26 WPM on first day is pretty solid.
I dropped from 70 to 15 when starting with an Ergodox and it took me about 10 days to get back to 60+
(And then I decided to switch to Colemak layout which is much harder than Row stagger -> column stagger I’d say)
See my other response for how I am driving the LEDs :) (Works fine with an Arduino program so that is not the issue here)
It seems to me that I get this line wrong: NRF_PSEL(SPIM_MOSI, 0, 16). I would read this as "Set pin P0.16 as SPI MOSI", however I cannot find a pin P0.16 exposed on the Xiao BLE https://wiki.seeedstudio.com/XIAO_BLE/
Can you give me a pointer where I am wrong?
(my RGB pin is P1.11 / D6, so I would've assumed that I should change this to NRF_PSEL(SPIM_MOSI, 1, 11), I know that the use of low frequency pins is discouraged by ZMK docs)
I am using this trick to convert the logic input to 5V, so that should work. Super hacky, but as far as I checked, every piece of this hack is entirely in spec for the components used.
I'll check with a simple Arduino program first I guess
UPDATE: Arduino program works, so it is not a hardware issue (lucky me)
Underglow in ZMK on Seeedstudio Xiao BLE not working
Hey all.
I am currently prototyping a keyboard with the Seeedstudio Xiao BLE (nrf52840). I configured the shield config correctly & got it working. However, my RGB won’t turn on (followed the ZMK documentation on RGB underglow)
Does anybody have a pointer to a project that got RGB working with Seeedstudio Xiao BLE & RGB?
If you also want to try out tactile switches, go for the Choc Sunset.
Which keycaps tilters & keycaps do you use?
It was pushed back to September but there might be an additional delay. Check out Dygma‘s YouTube channel, they are pretty transparent about updates on their process.
As others pointed out, the Dygma Defy might be an option when it’s finally available: https://dygma.com/products/dygma-defy
Alternatively, you could look for used ones, but this has the Return (and the parts) issue as well.
I suspect there will be other people like me who probably sell their Moonlander when the Defy is available.
I assume the Brown V2 are nothing like the V1 then. (Because those just lack a well-defined tactile bump). Might be worth trying them then.
yay, two pinky gang!
Personally I prefer still having 3 keys on the inner index column as I find it easier to hit inner column keys if they are part of one of the rows (and I only use the homerow pinky + don't like chords, so having 3 inner column keys per half is preferable to me).
Naming wise, you could always go for silly portmanteaus like "scoolp" (scoop + sculpted) or "scoob / scooboard" (scoop + keeb / keyboard) ;)
F6TZAH
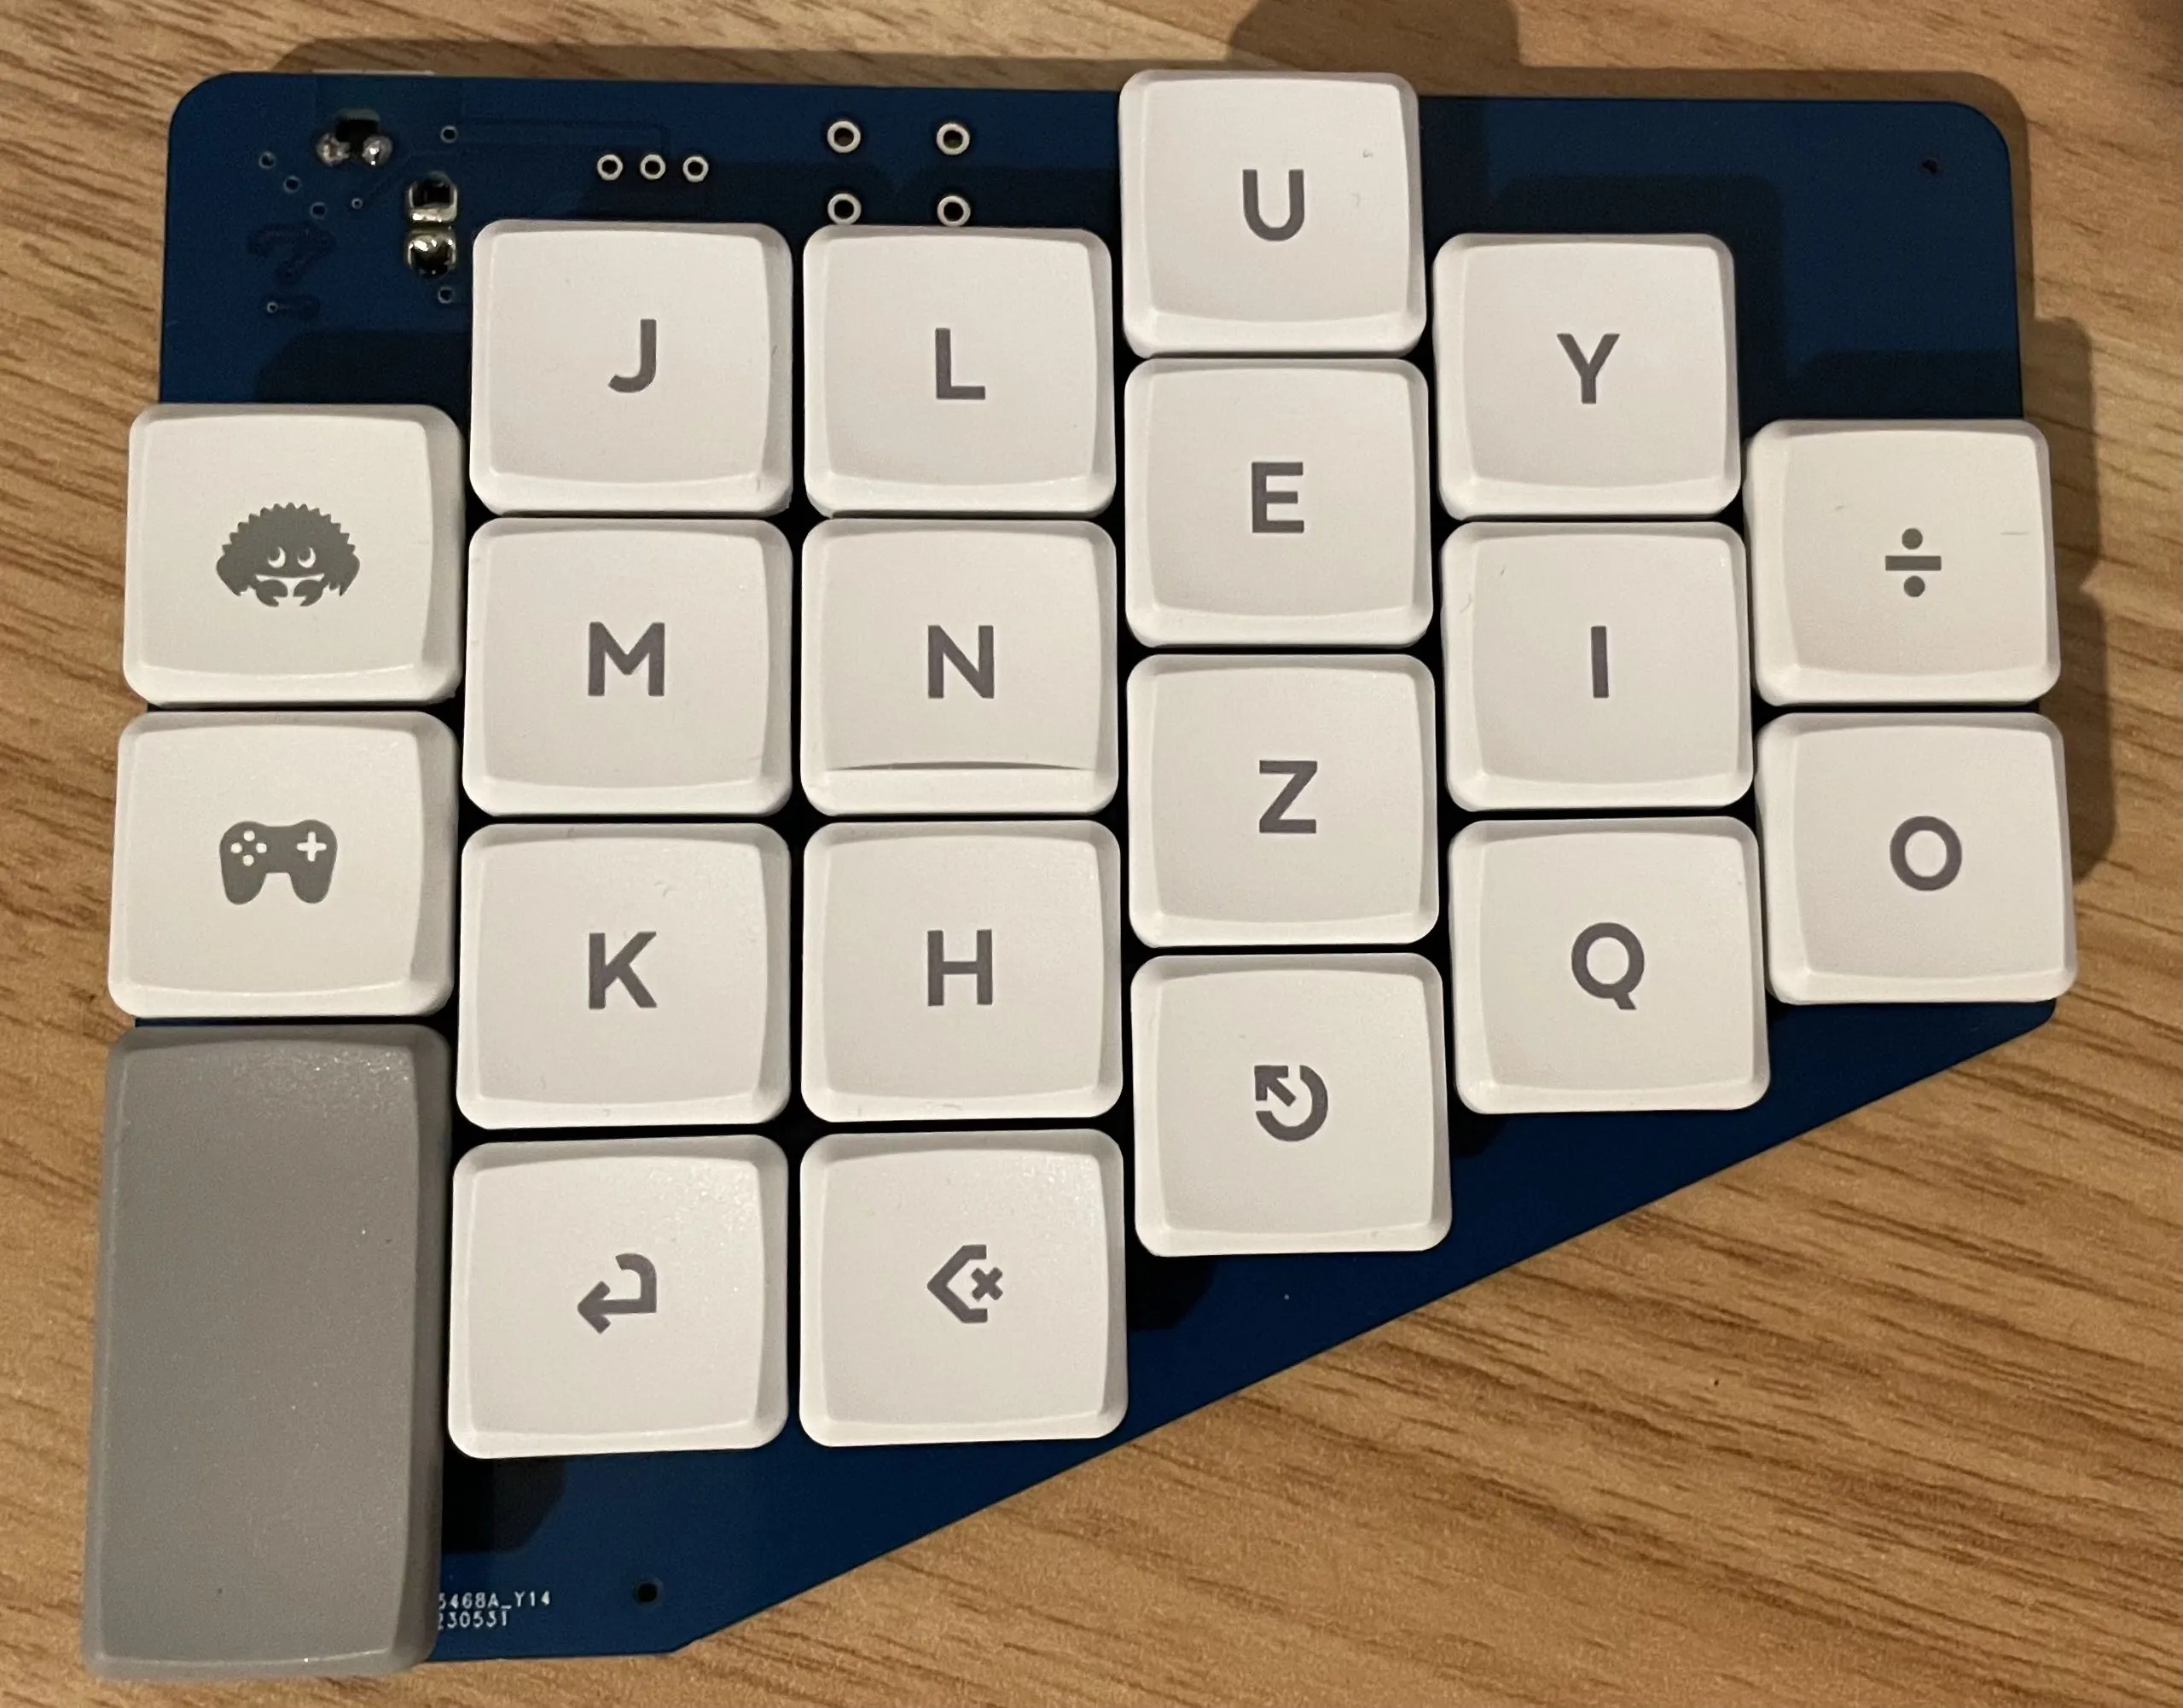
Keycaps for a gaming split keyboard for League of Legends / TFT sessions with my brother.
That’s the best thumb cluster on a DIY board I’ve seen so far
From my personal experience, I agree. But I can recommend having a larger board for trying out different layouts
I have a Moonlander, and while I like it I consider switching to the upcoming Dygma Defy since I like the thumb cluster more, it has a bit more column stagger (which my short pinky Finger appreciates) as well as built-in tenting and wireless options.
That said, the Moonlander is a solid choice and ZSA did a good job with their online configurator (Oryx) and the decision to choose QMK as the firmware (popular open source keyboard firmware)
I can switch between split and traditional row staggered (if the row staggered board is not a mechanical keyboard. Apparently my muscle memory for row staggered mechanical keyboards is messed up)
But I don’t like to use a „normal“ keyboard. Everything feels far apart and only reachable by weird hand motions. I got used to having everything in reach thanks to layers
I find the Moonlander thumb cluster not that easy to reach. I have medium/large hands but relatively inflexible thumbs and use only 2 of the thumb keys. (And one of the bottom row keys as a third thumb key. If you do it that way it is probably not much different than the Iris). Personally, I would like the thumb cluster to be closer to the other keys and/or splayed.
The Hummingbird is a Unibody keyboard with a layout like you described
At first it was pretty hard, but I found that it became easier once I built up muscle memory for my Colemak-DH column stagger split keyboard. Suddenly switching between the split and my MacBook keyboard started working again.
I‘m typing with 50WPM on a Moonlander with Colemak-DH Layout and still can type on a QWERTY MacBook keyboard with my usual 70-80WPM
During the initial leaning phase, switching is hard. From my experience it’ll be easier once you are able to type subconsciously on the Moonlander as well.
Speaking from personal experience here, your mileage may vary.
Built half a keyboard (first prototype for my custom design)


This is the right half of my first custom design. Not available yet as its still in prototyping phase.
Features:
- Fully wireless, running ZMK
- Case with fixed tenting angle (not shown in the picture as I am currently designing it)
- Provides space for large battery
- Bottom-facing MCU, here a Seeed Studio Xiao
- Reduced pinky keys
- extra keys below middle finger column and next to inner column
- thumb keys aligned with grid (for me, this was the most comfortable position anyways, your mileage may vary)
Basically a 42 (-2) keyboard: One pinky key less and the 6th column has been moved to more ergonomic positions (no pinky stretching or hand bending outwards)
Pic shows the right half with MBK Legends keycaps along some custom keycaps made with FKCaps' custom keycaps generator. I am using a slightly modified Colemak-DH layout where I Q and Z to the left and all punctuation to layers so the left pinky only has to operate a homerow key (and caps word / num lock).